Friday, June 30, 2017

Twofer

I'm assuming you've heard the expression "twofer", if not, it's a slang way of saying "Two for one". I had a big interruption on making wedding quilts this week, because I need to make a comfort quilt. Yet another person we know has cancer, and cancer sucks. Unfortunately, this is far from the first comfort quilt I've made for this reason. I don't mind putting everything else aside to make a comfort quilt, it's such a small thing when they are facing such a big thing. 

As with all the other comfort quilts I've made for this reason, I use some solid white so people can sign the quilt with well wishes. Wouldn't you rather have a quilt than a card?

I know a lot of people have people sign fabric before it gets sewn into the quilt, and I've tried that, but in my experience, people never follow directions, always write in the seam allowances so important parts of the messages are lost. Also, If I have to make the quilt after the pieces are signed I feel under even more pressure to work quickly, which makes me cranky. I've yet to have everyone sign before the quilt is finished anyone, so some people end up signing the finished quilt anyway, so why not make everyone sign the finished quilt? This is the way I've done it the last several comfort quilts I've made and I've had far less drama this way. Your experience may vary, but for me, finishing the quilt first is the way to go. 

I cut my white squares at 6.5" from yardage. For the corners I dug through my 3.5" strips. I wanted fabrics that were bright and cheerful, and I found a nice selection already cut to size.


I'm so glad I precut strips into common sizes, if I didn't, this quilt wouldn't have as much variety as it's got. If I had had to handle a bunch of fat quarters or yardage, I would have opted for just a few fabrics in an effort to save time.

I decided to make square in a square blocks, and although I certainly could have just cut everything to size from the beginning, I opted for making flip and sew corners. I didn't want to take the time to draw diagonal lines, and as with most things quilty, there is more than one way to get things done. 


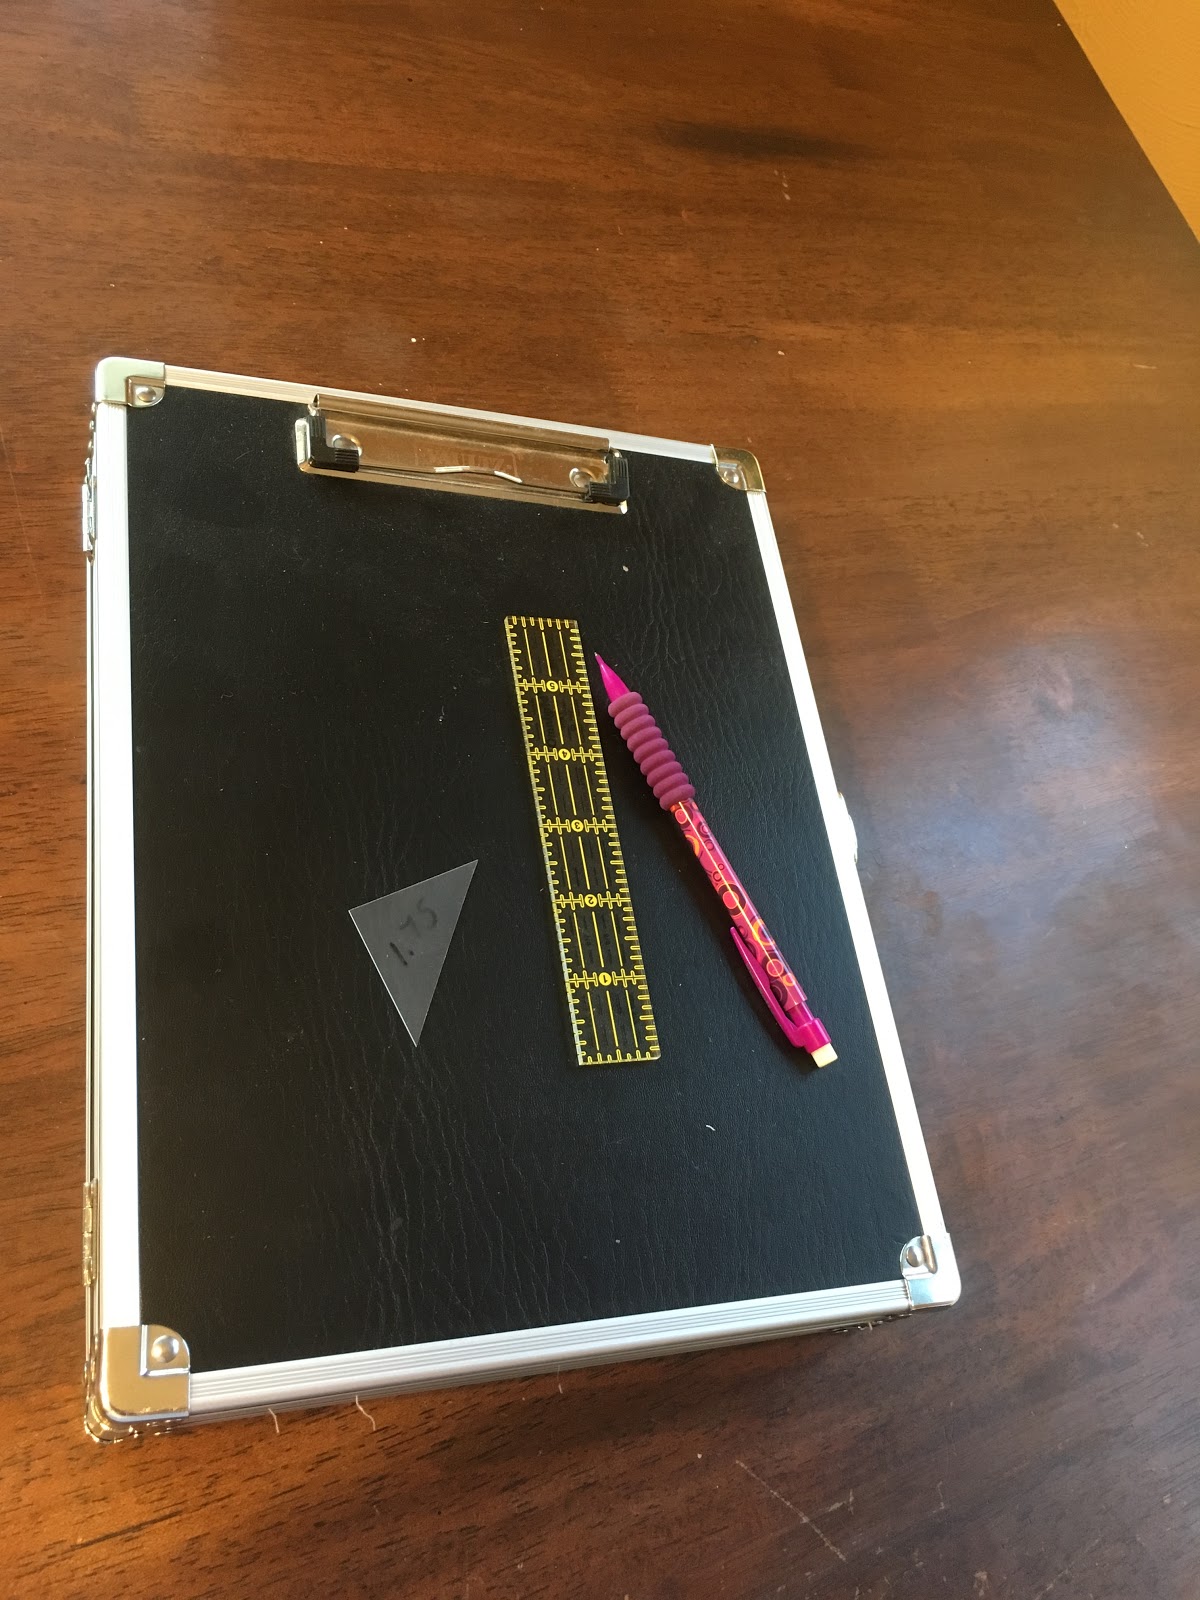
I got out my Folded Corner Clipper ruler, and used it to cut the corner off leaving a perfect 1/4 seam allowance ready to sew. 


After I sew the corner onto the white square, I turn my cutting mat, and use the same ruler to cut a 2.5" HST from the "waste". This HST will finish at 2", and I already have a plan for all the HST's from this quilt. The only real "waste" is the small strip leftover from cutting between the corner and the HST. It's less than 1/4" wide, and I have no problems tossing it. 


I do opposite corners, finger press open, then do the last two corners. 


Here is the square in a square unit finished, no sliver trimming needed. If you'd like to try making units this way, but don't have the Folded Corner Clipper ruler, you can still try it if you've got the Easy Angle Ruler.


The lighting makes it look like the lines aren't quite lined up, but they are actually spot on. The markings are a little easier to follow on the Folded Corner Clipper for this use, because that's what it's made to do. 


Using this method, with the sizes I chose to use (6.5 and 3.5 squares) You'll end up with one 6" finished block, and four HST's that would finish into a 4" block. I played with various layouts for the HST's, and I figured out something that will use exactly the number of HST's I have after making the 99 blocks I needed for the comfort quilt. I'm not saying what I'm doing with them right now, it will be a surprise for you later! At any rate, the little bit of extra time I took sewing those bonus HST's will net me a second quilt for what seems like free, a twofer!


This was my set up for cutting an sewing these blocks. The extra table allows me to just turn my chair to cut, then turn again to sew. 


I haven't pressed all those blocks yet, but I just finished the last block about an hour ago. The plastic tub has all the bonus HST's. My goal is to assemble the comfort quilt top tomorrow, and get it pin-basted. Sunday the goal is to get it quilted and bound. DH has Monday off, so if I can't get it finished until then that's OK. He can bring the quilt and the fabric markers to work on Tuesday. I'll post pics when it's finished.

Thursday, June 22, 2017

Starting on the Backlog

I've finally started sewing on a wedding quilt! I am SOOOO far behind on wedding quilts! Five to make and four of those couples already married! No matter how much I want to sew, getting back in the habit of sewing long hours is hard. Interruptions are still a regular occurrence too, life hasn't calmed down as much as I thought it would.

At any rate, I've gotten some units for the first wedding quilt done!


I have so many different colorways of units to make, I'm actually using my leader/ender project to keep the different colorways separate. When I am doing flip and sew corners, I like to use a flip and sew corner leader/ender project. One of my new scrap projects needs Flying Geese units in sets of eight, so I'm using those as my leader/enders right now.


Since I need sets of eight for the Flying Geese, I'm actually using an entire set as my leader/ender. See the chain of Flying Geese at the end of my chain piecing? I'm double sewing all of my flip and sew corners, so I'll have plenty of bonus HST's to play with.


Here are my bonus HST's so far. I'm keeping the sizes separate, and I will press them at a later date. Right now I am sewing as much as I can before I have to press, then my goal is to keep my iron on as little time as possible. Temps have been in the 110's, and anything that heats the house is not welcome.


Here is my progress on the next colorway.  Notice that double sewing so I can just cut between the lines of sewing and my bonus HST's are ready.


My Flying Geese are starting to pile up too! I'll sew these into blocks when I get to the nine patch portion of this quilt.

I LOVE bonus HST's, and I will do flip and sew corners just to get them, even if it's just as easy to use a ruler and use less fabric. Bonus HST's are just so much fun to play with, and when I sew them like this, it feels like I get an extra quilt from nothing. I know in my head it's just as much sewing, but it FEELS like less.

I always have so many ideas running through my head for bonus HST's, and for this wedding quilt, I am debating using all the bonus HST's from the front on the back to make a double sided quilt. I based my color choices on some fabrics that likely won't be used on the front, because of the pattern I chose. I could use all those fabrics on the backing, and with some creative thinking make a really cool backing. The bonus HST's could work in there just fine.

I'm not sure I've ever shown it here, but because I do flip and sew corners so often, and most of my quilts are scrappy, I usually have my clipboard case full of neutral or blacks squares ready to draw lines on. Here is my case


I usually have a piece of paper clipped onto it so I don't draw all over it while drawing lines. I use mechanical pencils so I don't have to worry about sharpening on the go (or white or silver markers if I'm marking black fabric) I keep this little ruler in the case, along with an assortment of Bonus buddies cut to various sizes. I use template plastic for my bonus buddies, cut them into different sized squares, then cut them diagonally. I get two bonus buddies from each square of template plastic. When I'm working with 2.5 inch squares, I like to use my 1.75 inch bonus buddy, so I draw the first line diagonally on each square with the ruler, then I fit my bonus buddy into one corner, and draw the second sewing line. I know some people use a 2" bonus buddy on 2.5 inch squares, but I don't like cutting the seam short. I often do 16 patches with the bonus HST's, which finish into a 5" square when using 1.75" HST's.


Here is my case open. When I finish marking all these squares, I'll cut another batch, not necessarily the same size or colors, and then start marking those. This case goes with me on long car trips, hotels, or anyplace I'm going to have down time and need something to do. When I wanted to do a Flying Geese leader/ender project, I didn't have to mark anything, because I had already marked enough squares for the project ahead of time. I'm usually thinking a dozen or more quilts ahead, and being able to do some of the tedious stuff ahead of time makes the time seem to go faster when I actually start the project.

There will be no sewing for me the next three days at least. My schedule is completely full of family events. I may get a few more units sewn up tonight, but I'm pretty sore from sewing all day. I may just put on a movie and draw diagonal lines on the last of the squares that need them for this quilt. If I have time, I'll draw lines on some the squares in my case.

Tuesday, June 13, 2017

Bounty, Beauty, and Birthdays

Remember a while back I posted my huge haul from thrift store shopping? While I've had out of town company, I've been cutting up those thrift store shirts, tossing the seams, and consolidating the shirt parts to take up a LOT less space. I realized a couple weeks ago, that right now there is not one single bed in my house with a quilt on it. I have a quilt top finished that is destined for the queen sized guest bed, but it's not pin-basted or quilted yet. I have old ratty blankets on the grandkid guest beds, my DIL has a comforter on her bed, and I have a bedspread on mine, because the quilt we had on ours was falling apart. 

I decided while cutting apart these shirts, that I'll be making two twin sized quilts for the grandkid guest room from shirts. With all my deadline quilts well past due, I need something easy, so I'm thinking 6" HST's set in a barn raising pattern. That is a larger size piece than I usually use from shirts, so I'm saving all the backs of the shirts for this project.


These are the backs of the shirts I've "de-boned" so far. I'm doing a few shirts a day among other projects, and I hope to reach the end of my thrift store bounty by next weekend. I think all the rest of the shirt pieces will fit in one box when I'm done. They really do take up a lot less space when cut apart and the unusable bits are tossed. 

Yesterday I got my hair cut. For most people that's not a blog-worthy item, but for me, maybe it is. 


This is what got cut off. In case you can't read the numbers, the longest bits are over 21", with most being around 20", not a small amount of hair to cut off. So, are you wondering how long my hair is now???


Still past my shoulders...


And long enough for a ponytail! My hair grows REALLY fast, it always has, and cutting off this much is no big deal because I know it will be long again before I know it. 

You probably think my hair is the beauty part of my post, but it's not. The beauty and birthday part is combined. You see, in a couple weeks I will be turning 50! How that much time has passed I have no idea! I don't FEEL that old. I want to make MYSELF a quilt to celebrate turning 50. This is actually the first time I've felt weird about getting older. Turning 30 and 40 were no big deal to me, but somehow 50 feels HUGE! It could just be because the last 18 months have been incredibly stressful, with lots of nasty things to deal with, so I'm pretty overwhelmed already. 

That's why I've decided to turn my life verse into a quilt. The Bible verse which has always been closest to my heart is 

 And we know that all things work together for good to them that love God, to them who are the called according to his purpose.  Romans 8:28

The last 18 months have been really hard, and I've had to remind myself that God can turn bad things around and use them for good. To give myself a visual reminder of that, I want to make an ugly fabric quilt, or in my case, a Romans 8:28 quilt. On facebook, I asked my friends and family to send me a piece of fabric they consider ugly, and that if they did, I would include it in my quilt. 

You know the saying, "Beauty is in the eye of the beholder"? Well, evidently, so is ugly!


Here is what I've been sent so far, and most of it is not ugly in my opinion. (To be fair, the person who sent the cute little elephants knows it's not ugly, but they wanted it to be a memorial fabric for a family member of ours) Do you have an ugly fabric that you wouldn't mind passing on? If you do, comment on the post telling me so,  and I'll contact you privately with my address. I'm really looking forward to this challenge, trying to make something good out of ugly-ish bits. I'm not God, and I can't turn things around like He can, but I am excited to try in this small way. 

Wednesday, June 7, 2017

Bibs for Baby

I had been hoping to finish Mr. LJ's bibs before our out-of-town company arrived, and that didn't happen, but I did get all the ribbing sewn on for the necklines. 

Today I had a bit of time alone, while company had other plans, so I managed to get all the appliques fused on, so a bit of time sewing around the edges is all I need to call this project done.


Here's how they look right now. The two with printed towels on the right are finished, I won't add applique to those. The rest just need the applique stitched down, and then I can pack them up and mail them if we don't decide to drive up to Phoenix next week. I know DD#2 is anxious to get the bibs, she's been getting by with only three bibs leftover from the twins.

Since I try to keep a lookout for hand towels at thrift stores, I had everything on hand to make these bibs. The appliques are just cut from novelty fabrics with fusible on the back. My mom gave me a bunch of ribbing a while back, and so I had several colors to choose from. 

I have a stash that would make a lot of people uncomfortable, thinking it was too much, but I like everything to be on hand for a project. I have weeded out things I am unlikely to use, most of my garment fabrics, and pretty much everything non-quilting related. Some things I make somewhat frequently, like bibs, I kept the stuff to make. About the only thing I use ribbing for these days are bibs, so any scraps too small to get a neckline from I tossed. I'm just not likely to make baby t-shirts with ribbing, so saving tiny pieces of ribbing is silly. 

The pre-cutting scraps vs. not pre-cutting scraps question came up on one of my quilting groups again. Honestly, there is no right answer to that question, and anyone who thinks there is, must believe every works the same way they do.  It really depends on what you like to do as a quilter, how prolific you are, and how much money you have available for quilting. If you hate scrap quilts, there is no reason to save scraps at all, you'll likely never use them. If everything has to be matchy-matchy for you to enjoy a project, don't bother saving scraps. If you do a lot of applique, and need a bunch of odd shaped pieces, pre-cutting may not be efficient for you. If, on the other hand, you love scrap quilts like I do, and hate matchy-matchy things like I do, than pre-cutting scraps may work great for you like it does for me. I make lots of quilt patterns that can be cut from strips, and the more variety the better in my book, so pre-cutting scraps into usable sizes and storing them neatly so I'm not having to iron a huge mess saves me a ton of time. I tried just saving scraps in totes, and I never got around to using them, I just kept filling more totes with scraps. Once I took the time to cut them down into the sizes I use most? Yup, I use them all the time. I start out in my scrap user system every time I want to start a scrappy quilt. I divide my strips by color, so if I have an overwhelming amount of strips in a certain color, I tend to start a two color quilt, soon I'll start a blue and white quilt. I will likely have over 100 different blue fabrics in that quilt, and only one white. I'm looking forward to making it, seeing what I can do with what others may have tossed. 

DH is talking about retiring in a few years, and I want my stash to be MY retirement fund! I want to be able to quilt for years to come, without spending a fortune when we are on a fixed income. I'm blessed to have a great fabric stash, and I have lots of plans on how to use it!