
It's a reality now, the cutting station I've been tweaking on paper for months now is finished!

We had a few hiccups when making it, but in full disclosure mode, I'll let you know what didn't work for us, as well as what did.

I had a big piece of melamine that I had used on top of the used kitchen cabinets for a cutting island a while back. Instead of being the top this time, the melamine is the bottom. Plywood is what most people use, and a great option, but we wanted to use what we had as much as possible. I used 5 cube units, 3 six cube units (2 of which I already had), and 2 two cube units. Now, it would have been easier to use 8 cube units on the sides, but Target was out of them, and it looks they might be changing which brand they sell, and the measurements were off from the two six cube units I already had. I really wanted to use at least one of the six cube units I already had to save some money. Since I couldn't get the 8 cube units, I ordered one more six cube, and 2 two cube, so I still have the eight cubes on either side, and the six cubes for the end cap. We arranged the units on top of the piece of melamine, so DH could cut it to the size we needed it to be for this project. I didn't care about the one inch overlap on the end, but the side needed to be cut down.

Most of the DIY craft tables I see out of cube units don't have this center section. This section is a key part of my plan.
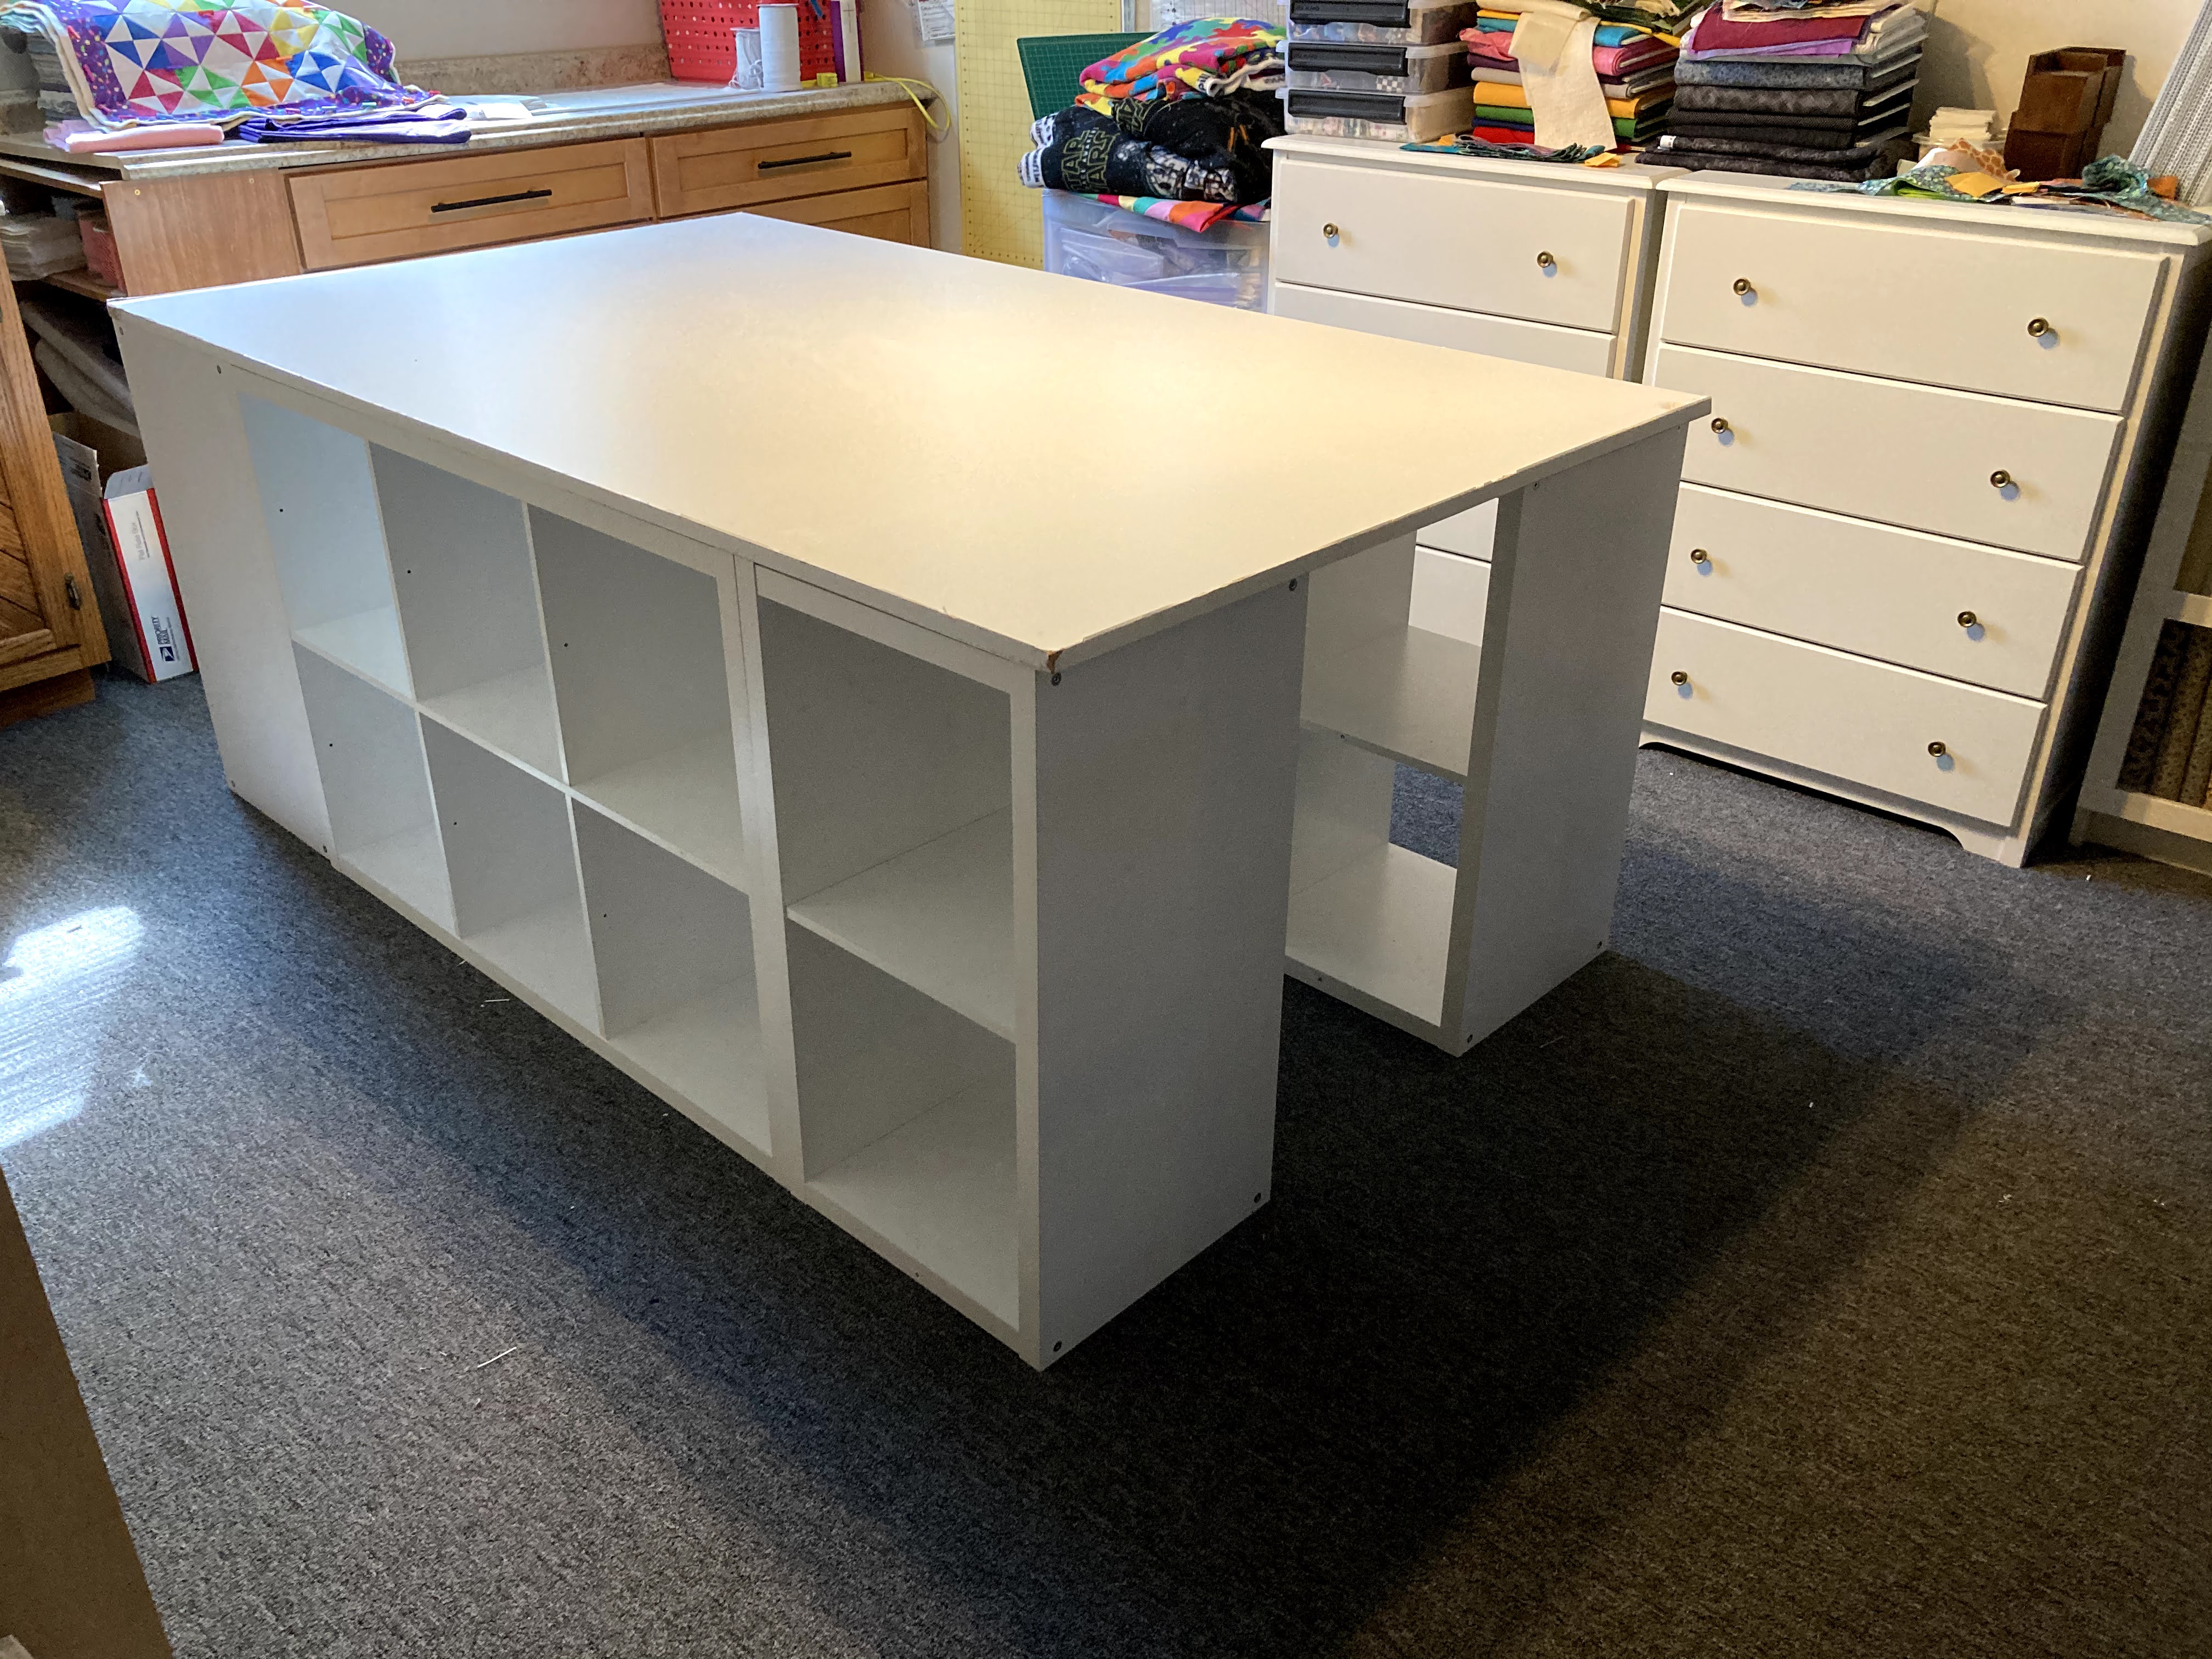
The bottom is now cut to size, and after watching different YouTube video's for similar tables, we tried assembling it upside down.

The bottom is now screwed to the cube units, and we opted for six 4" casters. The unit is now 44" X 74" so we didn't think four casters was enough support. The four corner casters have brakes on them, so the cutting table won't move unless I want it to.
Now to flip the unit over. We had a couple people to help, and there was a communication failure, so instead of grabbing onto the cube units to flip it, they tried to only grab the piece of melamine. Yeah...full disclosure...the bottom came off. The cube units aren't solid wood, and we knew that, but the other people didn't. After that disaster, we were done for yesterday.
Today was a new day, and a new try for putting this together. To avoid another disaster, DH decided to just assemble it right side up.

The end cap unit needed to be placed first. Everything else builds off of this.

He ended up screwing the cube units into the base from the top, but he placed the screws so they wouldn't interfere with the bins sliding in and out.

Now it was time to add a long shelf in the middle of my U shape. DH used L brackets attached to the cube units uprights to hold up the shelf. The MDF we used as the shelf wasn't as smooth as I wanted, and I didn't want it painted (mostly because I was impatient to have this project done)

I had some clear vinyl in the house, so we wrapped the shelf in that, and stapled it on the back. Voila, smooth shelf!

We had purchased two tabletops from Ikea to use for the top, but they needed to be fastened together. DH used five flat brackets to connect the two tabletops.

DH screwed the top to the cube units by screwing up though the tops of the cube units. He had to make a THIRD trip to the hardware store to get a different sized screw. All the screws he had were either too long or too short. I definitely didn't want screws coming through the tabletop! The tabletop is now 47" x 78".
My new cutting station has 22 cube areas. 12 of those cube spaces I already had full, since I was already using those units. I had a net storage gain of 10 cube spaces, plus that center section.

I used the bins I already had on the side that faces the hallway. I figured that side should look neat! All of these are either holding quilt kits, or quilt blocks waiting to be assembled into quilts.

The endcap holds most of my Accuquilt dies. My Studio cutter is just behind where I was standing to take this photo.

This side is all new storage. I'm trying to move my scrap user system into the containers on the right. These Plano containers are sized so four containers fit in a 13" cube space. I might buy one more set of those, I haven't decided. The two cubes that have fabric in them are fabrics I've pulled for projects, but haven't cut yet. Once I cut those projects, I'll put the fabrics away in stash, so those will be empty again. The one grey bin has all the accessories for my vintage sewing machines. I haven't completely decided how to organize this side, but I do know I am hoping to move some of the stuff from my walk in closet in the sewing room to this unit.
Since so much on this unit are specific projects, the contents will change pretty frequently as I finish things. I might have DH make me a couple shelves for this side, so I can more easily use smaller bins on this side.

That long shelf in the middle of the U now holds two rolls of batting. I normally have a roll of polyester batting and a roll of cotton batting at all times, and I've always struggled with where to store them. Now my rolls of batting have a home!
I am so thankful DH got this together for me! I'm sure I'll be tweaking what I store on it, especially since as I finish projects I'll be emptying bins that are already on here. I'm hoping this is as functional as I think it will be, and it's counter height now, so perfect for cutting without bad ergonomics!


2 comments:
What a great cabinet! Enjoy!
What a wonderful addition to your sewing room! Thank you for sharing the process that went into making it.
Post a Comment